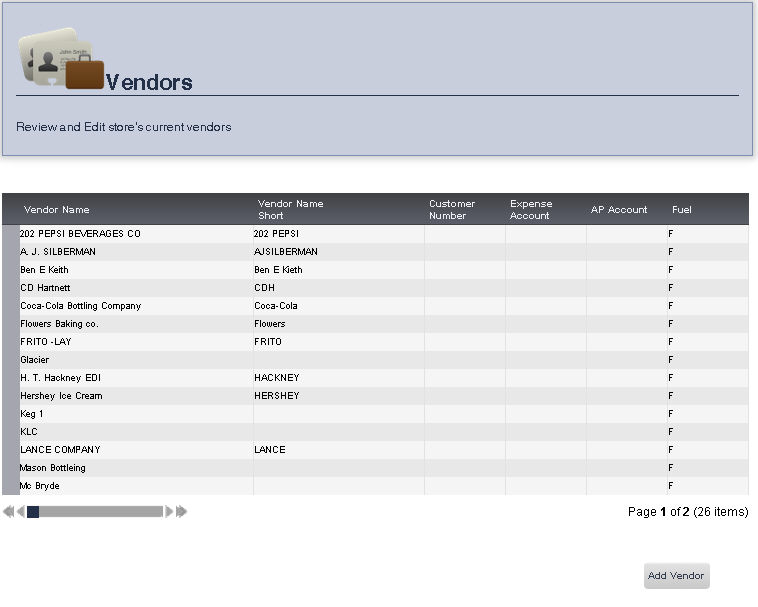
The Vendors page allows you to view and edit your current vendors, and add new ones.
1. Select Admin, then Maintain from the Main Toolbar, then click Vendors.
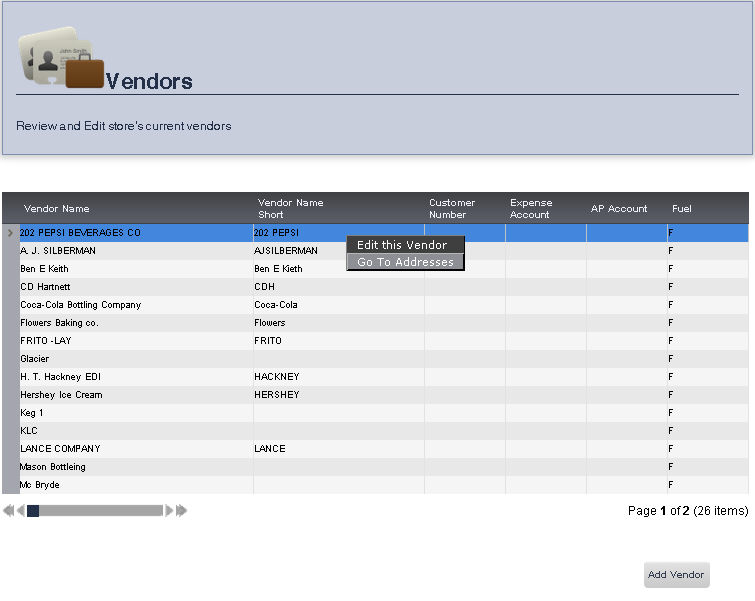
2. Right clicking a vendor will allow you to Edit that vendor, or go to the addresses for that Vendor.
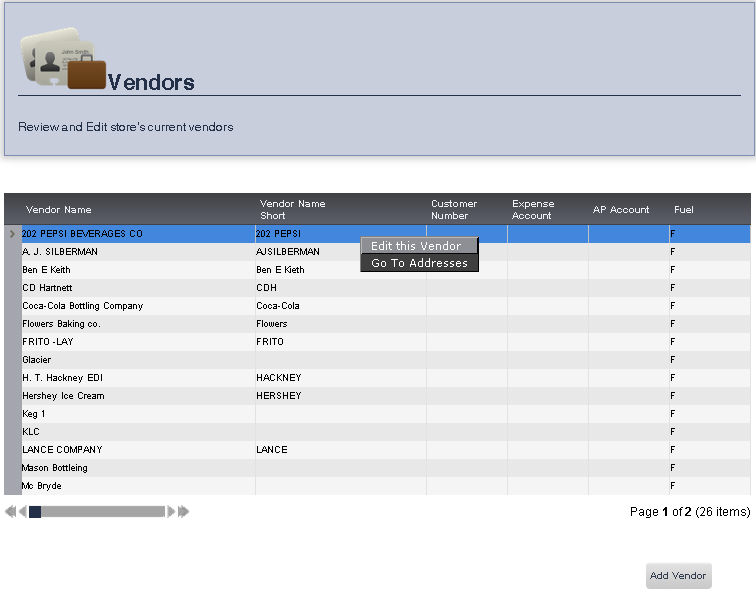
1. Right click the vendor you would like to edit, then click Edit this Vendor.
2. Enter the name of the vendor in the Vendor Name text box.
3. Enter the vendor short name in the Vendor Name Short text box.
4. Enter the expense account number in the Expense Account text box.
5. Enter your customer number in the Customer number text box.
6. Enter your AP account number in the AP Account text box.
7. If the items provided by this vendor require an item number, ensure that the box next to Require Item Number is checked. You can toggle between checking and un-checking a box by clicking it.
8. If the costs of the items provided by this vendor needed to be divided by the package size to yield a per unit cost, ensure the box next to Divide Cost by Pkg Size is checked. You can toggle between checking and un-checking a box by clicking it.
9. If this is a fuel vendor, check the box next to Fuel Vendor. You can toggle between checking and un-checking a box by clicking it.
10. Click Save.
1. To go to the Go to Addresses page, right click a vendor, then click Go to Addresses.
To add a New Vendor, click the Add Vendor button.
frmVendors.aspx